Automated Jekyll Archives for GitHub Pages
Aneejian · Aug 09, 2020 · 6 mins read.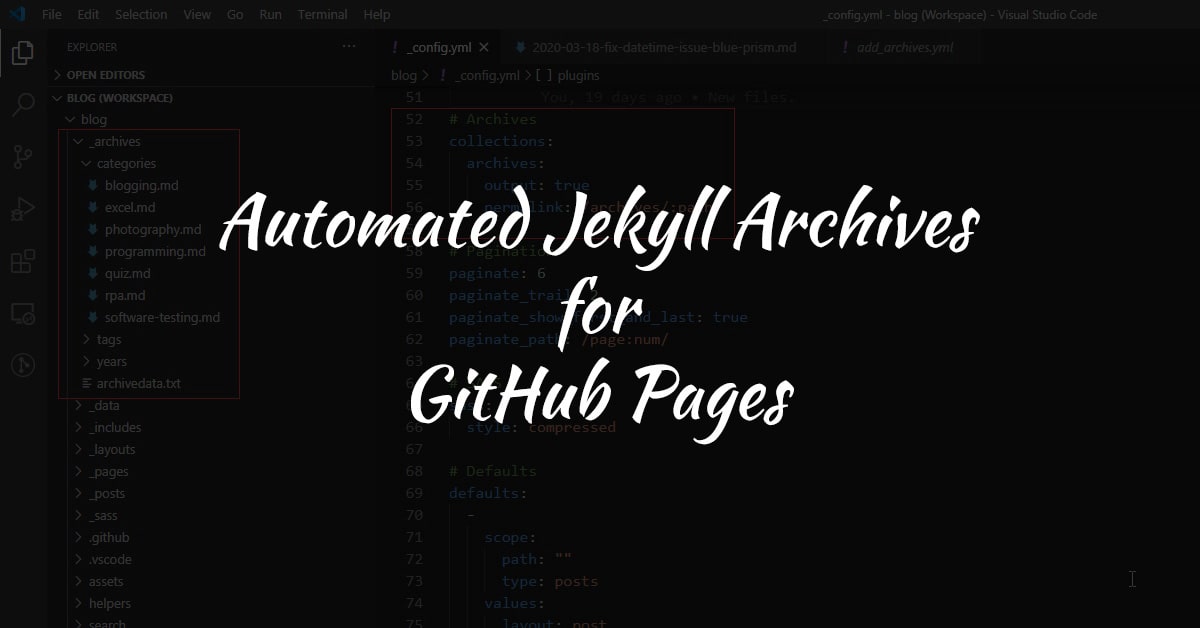
Creating archives in Jekyll is possible with the jekyll-archives plugin. However, this plugin is not supported by GitHub pages.
So, how can we have archive feature in our amazing blogs.
We have created a solution that can help you create archives for your blogs hosted in GitHub pages using Jekyll automatically. So, let us begin.
Blog Configuration
Create a collection
- Open your blog’s
_config.ymlfile. - Create a collection by adding the following code to the
_config.ymlfile.
# Archives
collections:
  archives:
    output: true
    permalink: /archives/:path/
Add required folders and files
-
Create a folder
_archivesin your blog’s root folder. -
Create a text file
archivedata.txtwith the below code.
---
---
{
"categories": [
    {%- for category in site.categories -%}
    "{{ category[0]}}"{% unless forloop.last %},{% endunless %}
    {%- endfor -%}
],
"tags": [
    {%- for tag in site.tags -%}
    "{{ tag[0] }}"{% unless forloop.last %},{% endunless %}
    {%- endfor -%}
],
"years": [
    {%- for post in site.posts -%}
    "{{ post.date | date: "%Y" }}"{% unless forloop.last %},{% endunless %}
    {%- endfor -%}
]
}

Test the settings
- Build your site and navigate to the archive data of your site. (
yoursite.com/archives/archivedata) - If the above steps were followed correctly, you should see a json structure like the one below.
{
    "categories": [
        "Software Testing",
        "Excel",
        "Blogging",
        "Programming",
        "Quiz",
        "Photography",
        "RPA"
    ],
    "tags": [
        "Automation Testing",
        "UFT",
        "QTP",
        "Excel VBA"
    ],
    "years": [
        "2020",
        "2020",
        "2019",
        "2018",
        "2017"
    ]
}
File was formatted for readability. This will appear minified on your site.
Create 3 layouts in the _layouts folder
- Open your blog’s
_layoutsfolder. - Create the following files.
archive-categories.htmlarchive-tags.htmlarchive-years.html

Sample layouts and files are present in the folder
blog-filesof this repository in GitHub. If you are using it, make sure to include a file from_includesfolder too. Make sure you add stylesheets based on your blog’s look and feel.
Add an action to your blog’s repository
- Navigate to your blog’s repository.
- Create a folder named
.githuband create a folderworkflowsinside it if not already present. - Create a new file named
add_archives.ymlin theworkflowsfolder. Name of the file is not important. You can name it whatever you want. Path to the file should be.github/workflows/add_archives.yml - Add the following code inside the file.
name: Generate Jekyll Archives
# description: Generate categories, tags and years archive files.
on:
  workflow_dispatch:
  push:
    paths:
      - "_posts/**"

jobs:
  build:
    runs-on: ubuntu-latest
    steps:
      - uses: actions/checkout@v2

      - name: Generate Jekyll Archives
        uses: kannansuresh/jekyll-blog-archive-workflow@master
        with:
          archive_url: "https://aneejian.com/archives/archivedata"
          archive_folder_path: "_archives"

      - name: setup git config
        run: |
          git config user.name "GitHub Actions Bot"
          git config user.email "<>"

      - name: commit
        run: |
          git add --all
          git commit -m "Created and updated archive files." || echo "No changes to commit."
          git push origin master || echo "No changes to push."
Action Variables
| Variable Name | Description | Required |
|---|---|---|
archive_url | Your blog’s archive data URL. e.g. yoursite.com/archives/archivedata | Yes |
archive_folder_path | Path to your _archives folder. Default value _archives | Yes |
In the code above, make sure to change the variable
archive_urlto your site’s archive data URL.
By default, the code pushes changes to
masterbranch. Change the code if you want the changes to be pushed to a different branch.
The action is set to run every time a commit happens in your
_postsfolder.
Triggering the action manually
- Navigate to
Actionstab of your repository. - Select
Generate Jekyll Archives. - Select
Run workflowoption and run it. - Wait for the run to complete.
- After successful run, navigate to
_archivesfolder and you will see the archive files generated.
The Result
Congratulations, you have setup an automated archive for your blog. To view the results, navigate to the following URLs. Replace the archive name and site URL.
In your repository, the _archives folder will look similar to the below image. Of course, it will have your category names, tag name and years you have posted.

For Categories
yoursite.com/category/category_name
For Tags
yoursite.com/tag/tag_name
For Years
yoursite.com/year/2020
See it in action
I have implemented this on this website.
See the below URLs.
GitHub
Love this GitHub action? Consider buying me a coffee.
